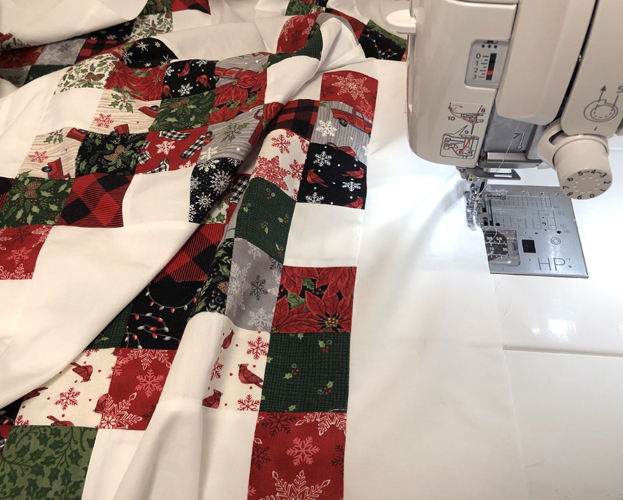
Some of you may not have even noticed I was gone, but after a long, albeit warm, winter in Florida, I’m finally back in Boise! It is so, so nice to be home, and reunited with my fabric, friends, and oh right, my husband 🙂 At least I was productive and made several quilts while I was on hiatus. I’ve been able to quilt them since I’ve been home and now I’ve got a pile to bind. Be aware that this post is a blatant advertisement for my free binding videos.
Why? Because lately, I’ve been seeing posts on different Facebook pages that I stalk, I mean follow, that talk about problems with getting nice square corners. Seriously? They should watch my binding videos but I’m certainly not going to post that on MSQC’s fan page. Alternatively, I thought I’d post a few pictures of my binding corner process. For more detailed information, you can watch my three-part video series, “Mrs. Hanson’s Perfect Machine Binding,” on YouTube. Some things you may already know (that’s what the fast forward button is for), but you may pick up a tip or two as well. I’ll put the links at the end of this post.
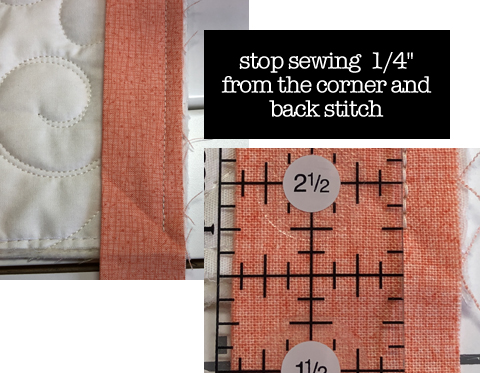
I’m assuming that you know how to make your binding, and are sewing it on with a quarter inch seam. (If not, go watch Part I of the videos.) As you sew the binding on, stop sewing a quarter of an inch from the corner, and back stitch. If you’re not sure you’ve got an accurate 1/4″, measure it! We do sell those handy dandy 2-1/2″ x 6-1/2″ rulers. By the way, you’ll need more than one. I’m always looking for one and I own several.
Next, you need to fold the binding to the right, at a right angle. The binding strip should be perfectly aligned along the bottom edge with the quilt top fabric. The faint crease that you can see in the photo shows exactly where the angle hits the end of your stitches, if you’ve folded it correctly.
The next photo shows the binding folded to the right, and then back again to the left, giving you a perfectly mitered corner, at least so far! Note the placement of the two pins in the photo. Pin it in place! The pins are there to stabilize the corner before you start sewing.

You’re now ready to sew the corner and be on your merry way to the next one! Don’t start on the corner. Instead, start about a 1/4″ below the corner, and backstitch off the edge of the quilt top, then sew forward and onward toward the next corner. That will prevent the binding from rolling under your sewing foot. It’s just one more tiny step that will help you make a perfect corner.
After I get the binding on, I move on to pressing and gluing. Yes, I said gluing. (Watch the video.) Sometime in the middle of that process, I answered a customer phone call, explaining that I had glue all over my fingers and needed a minute before I could pull up something on my computer. She gasped that I would use glue for binding. “Hey, if you need to bind five quilts in a day, glue is a miracle worker,” I said.

“Really, can it make my butt look smaller?” she asked. (I get some weird calls.) “No,” I replied. “But my husband is smart enough to never tell me my butt needs to be smaller, nor has he ever rolled over in bed and said, ‘You didn’t do a very good job on this binding.'” See why I’m glad to be back home?
If you’ve done a nice job folding and sewing your corners, you should get a nice crisp corner when you turn the binding to the back and press it. Use steam, lots and lots of wonderful steam, to set that perfect corner before you use a bit of water-soluble glue to hold it in place.
I could make this post really long, but honestly, if you’re struggling with binding you really should watch the videos. And leave nice comments.
Mrs. Hanson’s Perfect Machine Binding Part I